


Create a coffee blend in 4 simple steps
How do you create the perfect blend?
Some blends are the result of chance: there was an extra coffee in the cooling sieve or in the stoner by mistake. And just like that, a blend was created.
But it can also be done without chance, and then this article is perfect for you. You will learn…
Which 4 steps will help you create your perfect blend
Which questions you can (or could) ask yourself at each step

Step number 1: what is your objective?
The first step is to be aware of the goal of the blend. So we ask ourselves, for whom we are creating the blend or why we are creating the blend.
Only when we are clear about what we want to achieve with our blend can we measure whether we have achieved this goal with the finished mixture.
As a creative element, we can already collect a series of names for our blend in this step.
Let’s assume that we want to tap into a new target group, for example coffee drinkers for whom a low caffeine content is important, as is a good taste of their coffee.
Questions that can be important in the first step:
What is the goal of my blend? Should it reach a new target group, bring in more cash or act as a stimulant?
Who do I want to reach with my blend? Environmentally conscious coffee drinkers, coffee drinkers looking for a dessert espresso, or hotel owners who want an economical and easy-to-use coffee?
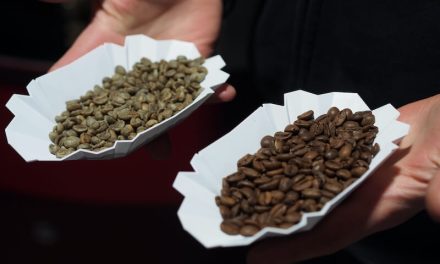
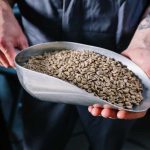
Step 2: Which coffee goes with it?
Now that we know why and for whom we are blending our coffee, we need to find the right coffees.
The obvious first step is to check our existing range to see which coffees are suitable for the blend. If we find that we are missing one (or more) coffees, we will fill the gap.
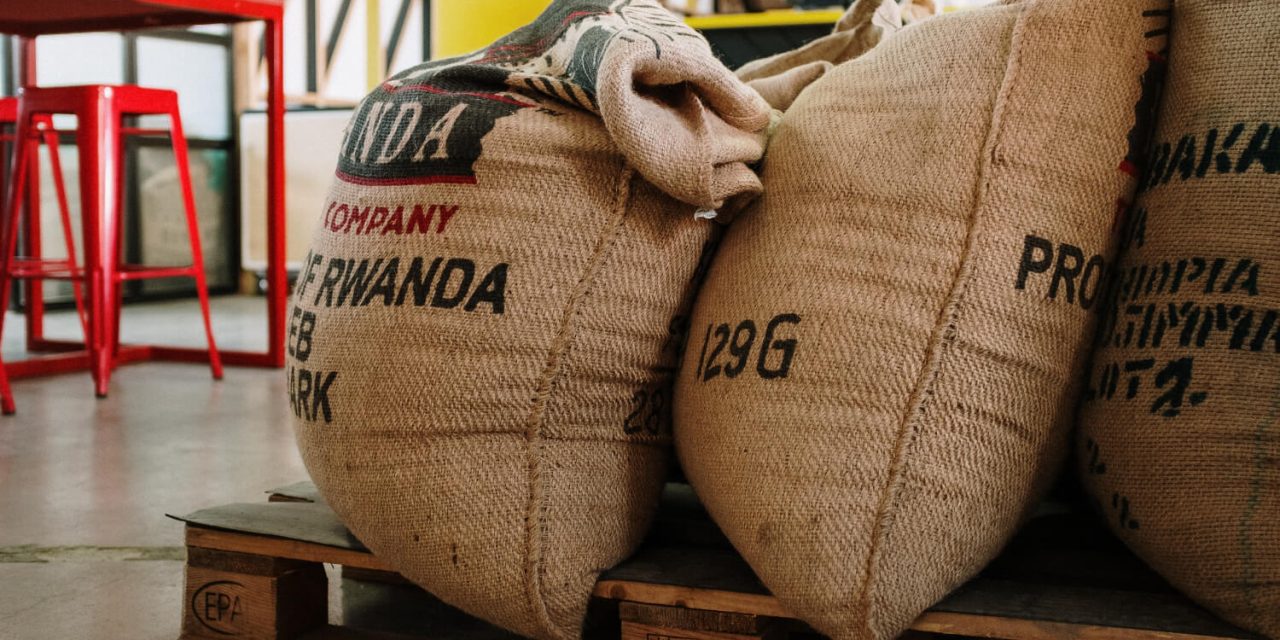
To do this, we can do two things: either look for a suitable coffee in the assortments of green coffee traders, or ask a roaster friend if they have a good tip or green coffee in stock for us in small quantities.
At first, we work with small quantities and when we are sure which blend we want, we increase the quantities for the production ready for sale.
In this step, we also check what production costs arise for us and for each individual blend. The most delicious blend is of no use to us if no one wants to buy it. Overall, the central question in this second step is which coffees are already available and which ones we still have to organize.
To stick with our example from step one, we can imagine a blend of one or two filter coffees from our range, plus a decaffeinated coffee. One blend should result in a coffee that contains less caffeine but still has a well-rounded cup profile. Since we don’t have any decaf in our range, we look at the lists of our green coffee suppliers and ask a colleague for a suggestion.
Questions to ask in the second step:
What specific requirements must my blend fulfill?
What about the availability of the coffees used in the blend?
Which coffees can I substitute with another if necessary?
What costs arise and how cost-effective is my blend?
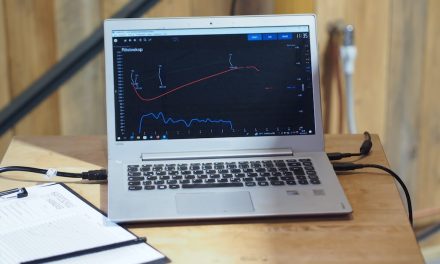
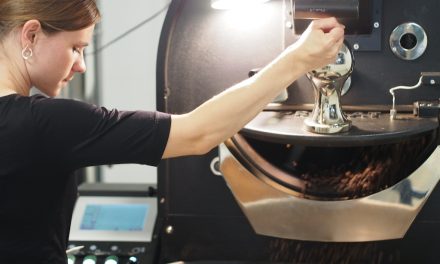
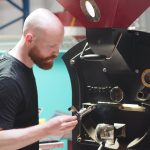
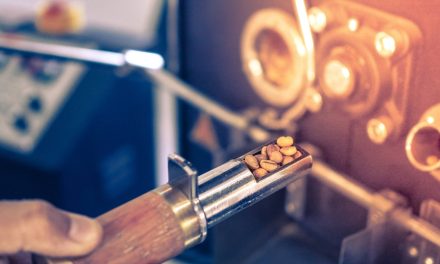
Step 3: How do I roast the coffee properly?
In this case, by roasting we mean the actual roasting, but also the planning and documentation of it. So we are putting our theoretical considerations into practice.
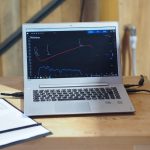
To do this, we now define the parameters for the different roasts. Specifically, we determine the roast style or degree of roast (for example, with the inlet and outlet temperature, the development time, the target roast color, the rate of rise and the weight loss during roasting).
In addition, we decide on pre- or post-blending and we determine the different proportions of the individual coffees for the blend.
We write down our ideas, because nothing is more frustrating than finding the perfect blend and not being able to reproduce it.
In our example, we test both pre- and post-blending. We set a medium roast level for the three filter coffees in our existing range and use the same profile for the sample of our decaffeinated coffee. We also note the ratio at which we blend the coffee.
Questions that are important in the third step:
What is best for me: pre-blending or post-blending?
Which roasting style(s) do I use for the individual coffees?
Do I use one roasting style for all coffees or do I define different roasting styles?
Which proportions of which coffee do I want to test for my blend?
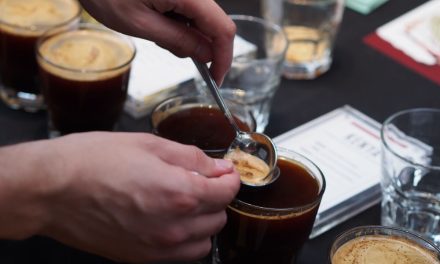
Step 4: How do I taste coffee properly?
Now we taste our blends. We put together our mixtures from our coffees, as planned in step 3, and cup them.
In doing so, we always check against our defined goal from step 1: Does any of the combinations on the table match our idea? (evaluation)
At the same time, we carry out a sensory quality control. We check whether our roasts of the individual coffees and our blends are harmonious, or whether we need to make adjustments during the roasting process.
In our example, we have initially created six different blends from our three filter coffees and the decaffeinated coffee. We taste the coffee according to our cupping protocol and note the cup profile.
Questions that are important in the fourth step:
Does the cup profile match my objective?
How can the sensory quality of this coffee be assessed?
Are the blend, the cup profile, the availability, the roasting process and its parameters all right for the blend in question?
And now: It’s your turn!
There are blends in the coffee world that came about by accident. Thomas – back in the days when he still had a retail shop – once created a Christmas blend by accident, due to a forgotten coffee in the grinder.
If we only want to sell a blend seasonally, that’s ok.
But wouldn’t it be fantastic to have a blend in our range that we can sell for several years? And for which we have a “recipe” for production?
Then these 4 steps above provide a good basis. The rest comes from practice and “doing”.